
Viewer
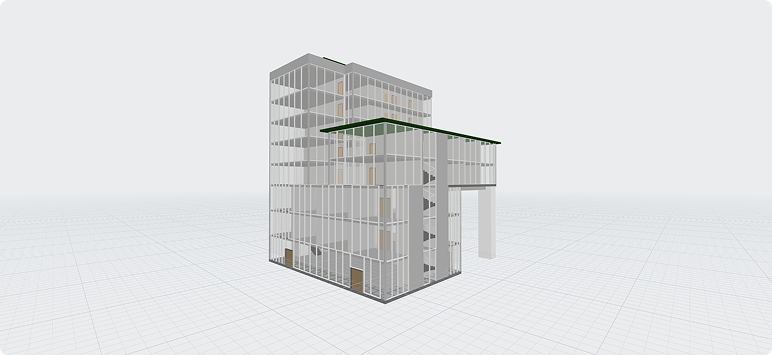
IV comes with a built-in viewer that allows you to visualize your IFC model and its elements. The viewer render your IFC model, allowing you to inspect and navigate through the model’s elements.
However if your file is too large, the viewer may not be able to render the model. In such cases, please use Table Mode to view the elements in a tabular format. Refer to Table Mode documentation.
Sandbox Viewer
IFC Validation is process through the Viewer in sandbox mode. An IFC file is required to be uploaded.
- No data is stored, IFC file is process locally in your browser.
- We will not have access to the IFC file uploaded.
- There is a limitation on the size of the IFC file for our viewer to process. Recommended file size is to below 100MB, to circumvent the limitation, please use the
Table Modeto view the elements in a tabular format.
Viewer Controls
The viewer comes with a set of controls that allows you to interact with the model.

Each control has its corresponding keyboard shortcut, which you can view by hovering over them. Below is a description of each control from left to right:
- Toggle Properties: Toggle the properties panel of selected elements. Read more about the properties panel in the Properties Panel documentation.
- Show Results: Toggle the results panel to view the dashboard and validation results of your model. Read more about the results panel in the Results Panel documentation.
- Grid: Toggle grid line of the viewer.
- Projection: Toggle between
PerspectiveandOrthographicprojection. - Section Cut: Activating section cut mode lets you slice through the model to reveal its internal elements by double-clicking on a surface. Click and drag the section plane to adjust the depth. To remove the section cut, hover over it and press the Delete key.
- Toggle IFC Space: Toggle the visibility of IFC spaces. A typical IFC model may contain countless of IfcSpace, which may clutter the viewer. You can toggle the visibility of IfcSpace to focus on other elements.
- Focus on Selection: With an element selected, click this button to focus on the selected element.
- Isolate Element: With an element selected, click this button to isolate the selected element and hide all other elements.
- Hide Element: With an element selected, click this button to hide the selected element.
- Reveal All Elements: Reveal all hidden elements.
- Zoom to Fit: Reset the camera to fit your model in the viewer.
- Performance Stats: Performance Statistic panel shows the current Memory Usage and FPS (Frames Per Second).
Properties Panel
The properties panel displays the properties of the selected element. You can view the properties of an element by selecting it in the viewer.

The first section of the panel display the elements attributes, these properties are as per IFC schema. Below are some of the key attributes you should be aware of:
- IfcEntity: The IFC entity type of the element
- ExpressID: The internal identifier, this is an internal identifier used for parsing and referencing. You should not be concerned with this unless you are a developer or for debugging purpose.
- GlobalId: A unique identifier for the element
- Tag: This is a BIM software specified value, in
Revit, this is theElement ID. - PredefinedType: The predefined type of the element, this is a type of the element, for example,
IfcWallmay have a predefined type ofWall. This value must be defined in the IFC schema, you cannot create a custom predefined type. - ObjectType: The object type of the element, this is a user-defined value, you can set this value in your BIM software.
The second section of the panel displays the property sets and their properties for the element. Some of these properties are part of the IFC schema, while others are defined by you when creating the element in your BIM software. If a parameter or property you defined in your BIM software is not shown here, it means the IFC file was not exported correctly.
The properties values are color coded to indicate their data type:
- String: Blue
- Number: Violet
- Boolean: Green
Results Panel
The results panel displays the dashboard and validation results of your model. You can view the results by clicking on the Show Results in the viewer controls.
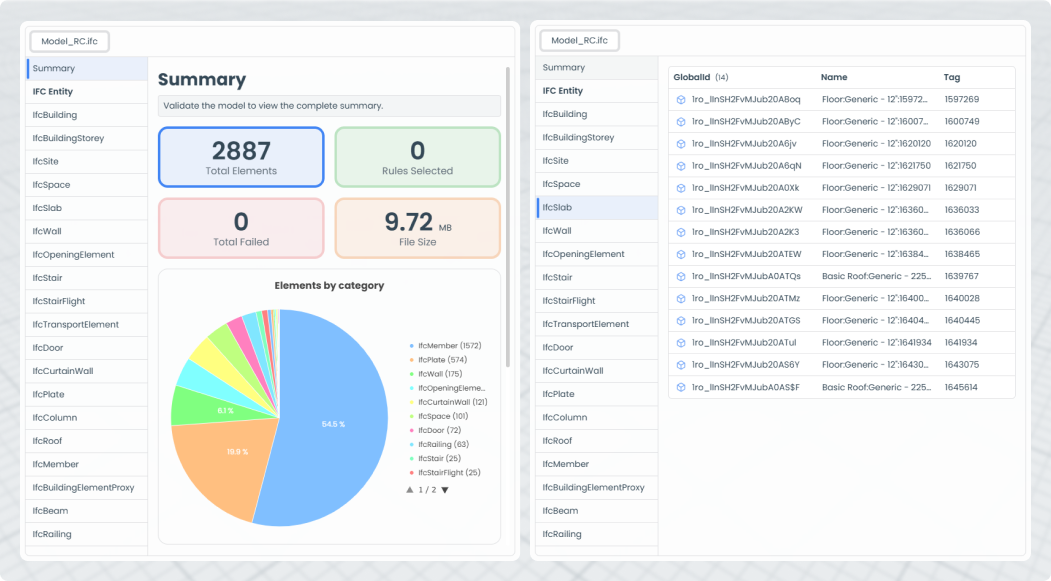
The results panel consists of two sections, Summary and IFC Entity.
In the Summary page, it displays a general overview of the model, such as the number of elements, the number of elements that passed, failed. (After validation have been run, refer to validation documentation)
On the left of the sidebar is a list of IFC Entity that is present in the model. Clicking on an entity will display all elements belonging to that entity. You can click on the element to view its properties.
Federation
Import multiple IFC files to federate the models, Validation will be performed all on the imported IFC files. However, there is little incentive to validate multiple IFC files at once, since validation rules may differ for each IFC file. It is recommended to validate one IFC file at a time.